Natural light is often described as a portrait photographer's best friend—it's free, abundant, and can create stunning, authentic images when used correctly. However, it can also be unpredictable, changing dramatically throughout the day and in different weather conditions.
In this post, we'll explore techniques to harness and control natural light for beautiful portrait results in any environment. Whether you're shooting outdoors, by a window, or in challenging lighting situations, these tips will help you make the most of available light.
Understanding the Quality of Light
Before we dive into specific techniques, it's important to understand that natural light has different qualities depending on the time of day, weather, and location:
- Hard light (direct sunlight) creates strong shadows and high contrast
- Soft light (overcast days or shade) produces gentle, flattering shadows
- Warm light (golden hour) gives a beautiful, golden glow
- Cool light (blue hour or shade) creates a more somber, dramatic mood

Different qualities of natural light at various times of day
The Golden Hour: Nature's Perfect Lighting
The golden hour—the period shortly after sunrise or before sunset—is widely regarded as the best time for portrait photography. During this time, the sun is low in the sky, creating warm, directional light that adds dimension to your subjects without harsh shadows.
Tips for golden hour portraits:
- Plan your shoots around these times (there are apps that can tell you exactly when golden hour begins and ends at your location)
- Position your subject so that the light falls on them from the side for dimensional lighting
- Experiment with backlighting for a dreamy, ethereal effect
- Work quickly, as this magical light doesn't last long

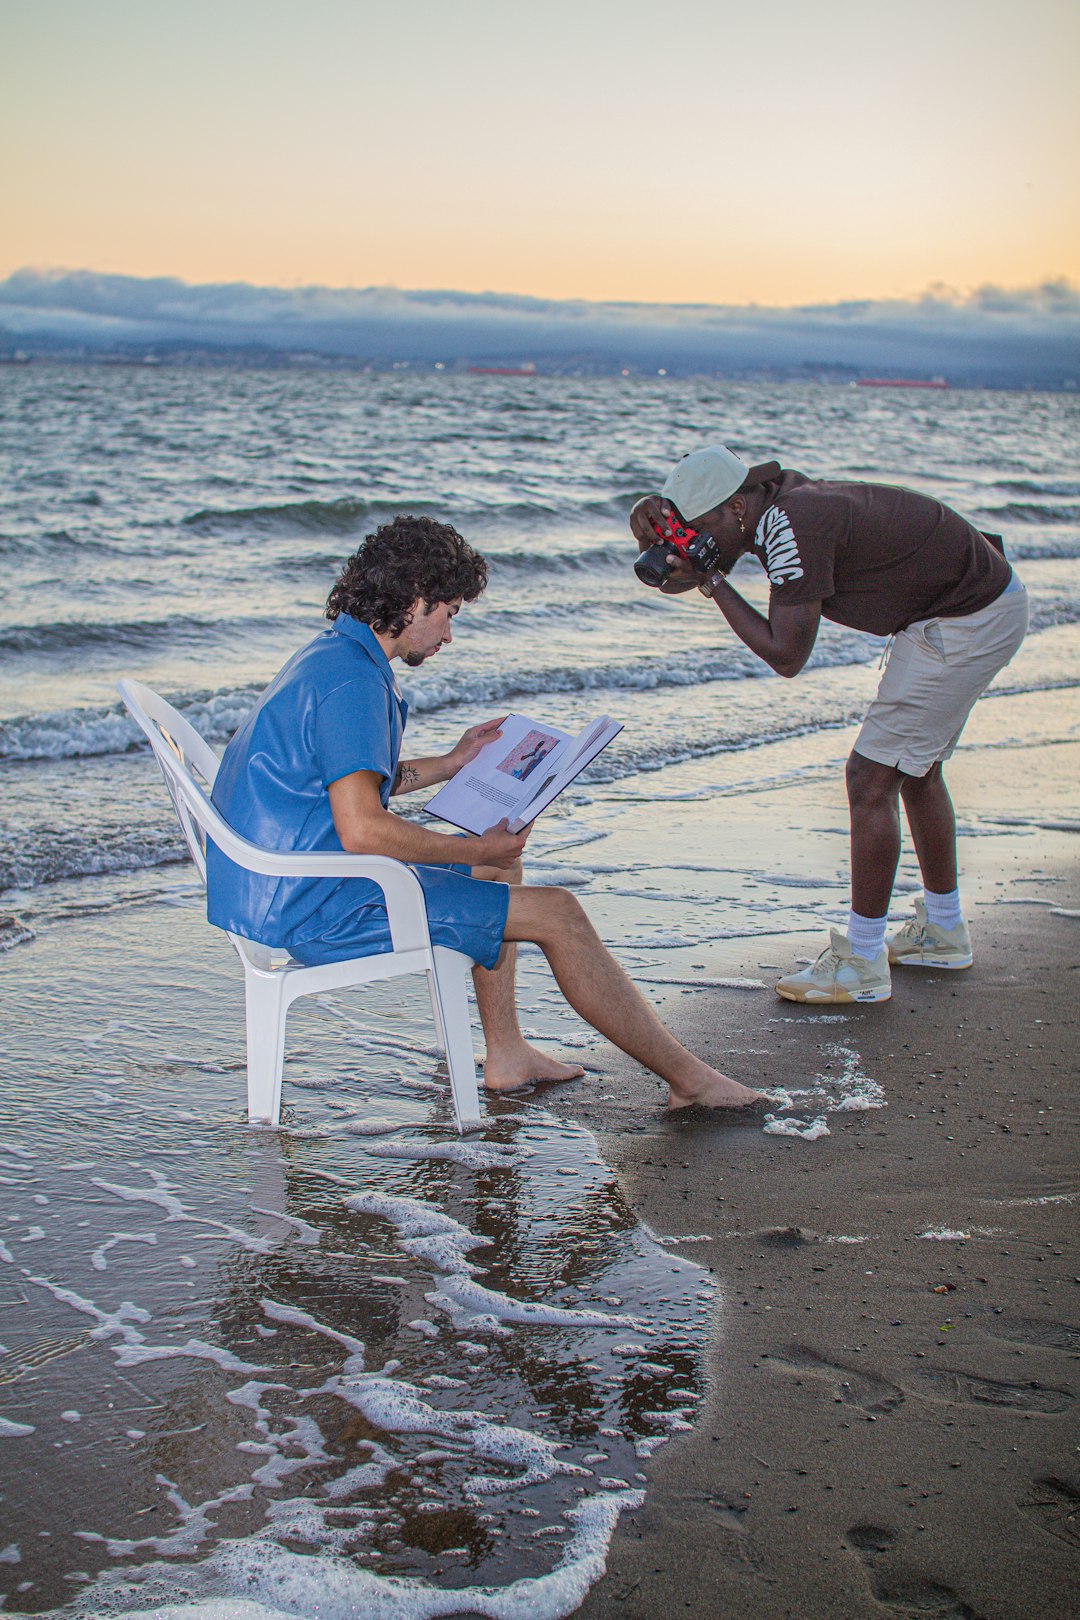
Portrait taken during golden hour with side lighting
Taming Midday Sun
Midday sun is often considered challenging for portrait photography due to its harsh, overhead quality. However, with the right techniques, you can still create beautiful portraits:
- Find shade: The easiest solution is to move your subject into the shade of a building or tree, which creates soft, even lighting
- Use reflectors: A reflector can bounce light back onto your subject's face, filling in harsh shadows
- Create your own shade: Use a diffuser (such as a translucent reflector) between the sun and your subject to soften the light
- Embrace dramatic lighting: Sometimes, working with the contrast rather than against it can create striking, dramatic portraits

Using a reflector to fill shadows during midday sun
Window Light: The Indoor Portrait Studio
Window light is one of the most beautiful and accessible forms of natural light for indoor portraits. It creates soft, directional lighting that's flattering for almost any subject.
Tips for window light portraits:
- Position your subject at a 45-degree angle to the window for dimensional lighting
- Control the light intensity with sheer curtains to diffuse harsh sunlight
- Use reflectors on the shadow side to balance the lighting
- Create dramatic portraits by positioning your subject perpendicular to the window, illuminating only half of their face
Portrait using window light with the subject at a 45-degree angle
Backlight: Creating Mood and Dimension
Backlighting—positioning your subject with the light source behind them—can create magical, atmospheric portraits. This technique is particularly effective during golden hour.
Tips for backlit portraits:
- Expose for the subject's face, not the bright background
- Use spot metering to ensure proper exposure of your subject
- Add a reflector in front of your subject to bounce light back onto their face
- Embrace lens flare for artistic effect, or use a lens hood to minimize it
Backlit portrait with a golden rim light effect
Cloudy Days: Embrace the Soft Box
Many photographers actually prefer overcast days for portraits. Think of the cloud cover as a giant softbox that creates even, flattering light without harsh shadows.
Tips for cloudy day portraits:
- Take advantage of the even lighting to shoot at any time of day
- Increase contrast in post-processing to add dimension to potentially flat images
- Consider black and white conversion, which often works well with the even tones of cloudy days
- Look for breaks in the clouds for moments of directional light
Portrait taken on an overcast day with even, flattering light
Essential Tools for Natural Light Portraits
While natural light photography requires less equipment than studio photography, a few tools can help you shape and control the light:
- Reflectors: These bounce light back onto your subject to fill shadows
- Diffusers: These soften harsh direct sunlight
- Negative fill: Black cards or fabric can be used to create shadows and add contrast
- Lens hood: Helps prevent unwanted lens flare when shooting into the light
Conclusion: Practice Makes Perfect
Mastering natural light is largely about observation and practice. Spend time watching how light changes throughout the day, how it interacts with your subjects, and how different techniques affect your images.
Remember that "good" light is subjective and depends on the mood you want to create. Sometimes harsh midday sun or even a rainy day can provide the perfect lighting for your creative vision.
We hope these tips help you make the most of natural light in your portrait photography. Do you have any favorite natural light techniques? Share them in the comments below!