Photo editing can be overwhelming for beginners. With countless sliders, tools, and techniques available in modern editing software, it's easy to feel lost or spend hours tweaking an image without a clear direction.
In this post, we'll share a straightforward yet effective post-processing workflow that beginners can follow to enhance their images without getting bogged down in technical details. This step-by-step approach will help you develop a consistent editing style while building your confidence and skills.
Why a Workflow Matters
Before diving into the specifics, let's understand why having a structured workflow is important:
- Consistency: A systematic approach helps maintain a cohesive look across your images
- Efficiency: Following the same steps each time saves time and mental energy
- Learning: A workflow helps you understand how different adjustments interact with each other
- Direction: It prevents aimless editing and gives you a clear path from start to finish
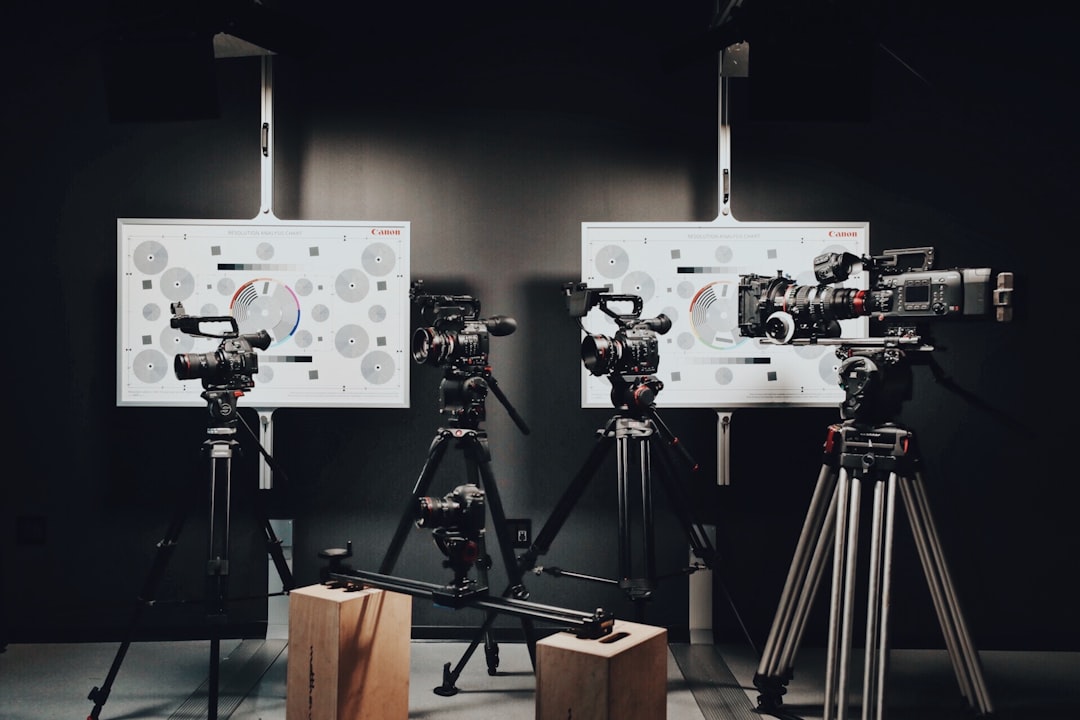
Before and after: A consistent workflow produces reliable results
Preparing for Post-Processing
Choose Your Software
For beginners, we recommend starting with one of these options:
- Adobe Lightroom: Industry standard with a logical workflow and comprehensive tools
- Capture One: Excellent color tools and customizable interface
- Luminar: AI-powered tools that simplify the editing process
- Darktable: Free, open-source alternative with powerful capabilities
This workflow can be applied to any of these programs, though some specific tools may have different names.
File Management
Before editing, establish a file management system:
- Import photos to a dedicated folder structure (Year > Month > Event)
- Make backups of your original files
- Use star ratings or color labels to mark your selects
- Consider using collections or albums to group related images
The Step-by-Step Workflow
Step 1: Basic Adjustments and Corrections
Start with foundational adjustments that affect the entire image:
- White Balance: Correct color temperature and tint to ensure neutral whites
- Exposure: Adjust overall brightness to properly expose the main subject
- Lens Corrections: Enable profile corrections to remove distortion and vignetting
- Straighten and Crop: Fix horizon lines and improve composition
Workflow tip: Always correct white balance first, as it affects how you perceive all other adjustments.
Start with basic adjustments like white balance and exposure
Step 2: Tonal Adjustments
Now enhance the dynamic range and contrast of your image:
- Highlights and Shadows: Recover detail in bright and dark areas
- Whites and Blacks: Set the white and black points to ensure a full tonal range
- Contrast: Increase separation between tones (often adjusted after highlights/shadows)
- Clarity or Texture: Enhance mid-tone contrast for added definition
Workflow tip: Use the histogram as a guide. Ideally, your tones should extend across the full range without significant clipping at either end.
Step 3: Color Adjustments
With tones balanced, enhance the colors in your image:
- Vibrance: Boost muted colors while protecting already saturated ones
- Saturation: Increase overall color intensity (use sparingly)
- HSL Panel: Adjust specific color hues, saturation, and luminance
- Split Toning/Color Grading: Add creative color to highlights and shadows
Workflow tip: For natural-looking results, increase vibrance before saturation, and be gentle with both.
Use HSL controls to fine-tune individual colors
Step 4: Local Adjustments
After global adjustments, focus on specific areas that need attention:
- Graduated Filters: Adjust areas like skies or foregrounds
- Radial Filters: Highlight subjects or create vignettes
- Adjustment Brush: Make precise local changes to exposure, clarity, etc.
- Range Masks: Refine local adjustments based on luminance or color
Workflow tip: Start with larger areas using graduated and radial filters, then use the adjustment brush for details.
Step 5: Detail Enhancements
Refine the fine details in your image:
- Sharpening: Enhance edge definition to make details pop
- Noise Reduction: Smooth grainy areas while preserving detail
- Texture: Enhance or reduce the appearance of medium-sized details
- Dehaze: Cut through atmospheric haze or add mood
Workflow tip: Zoom in to 100% when adjusting sharpening and noise reduction to accurately see their effects.
Sharpening and noise reduction are best assessed at 100% zoom
Step 6: Final Touches
Add the finishing touches to complete your image:
- Vignette: Darken or lighten the edges to draw attention to the center
- Grain: Add subtle film-like texture if desired
- Calibration: Fine-tune the primary colors for your personal style
- Presets or Profiles: Apply as a starting point or finishing touch
Workflow tip: Subtle vignettes work best—aim for an effect that isn't immediately noticeable.
Practical Workflow Examples
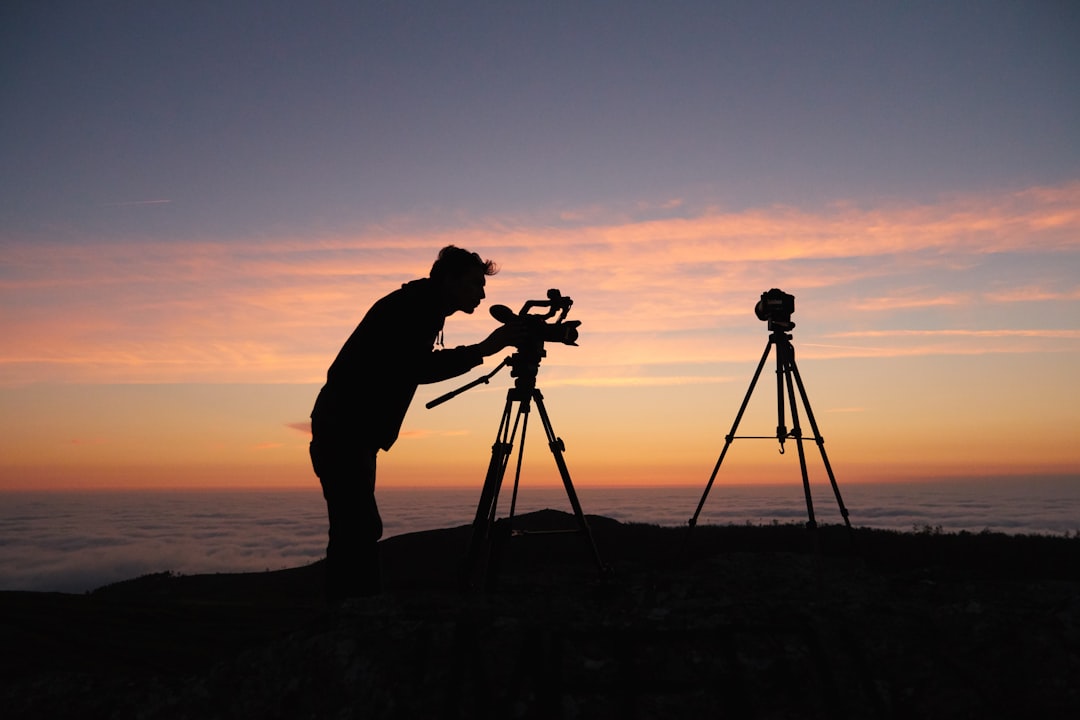
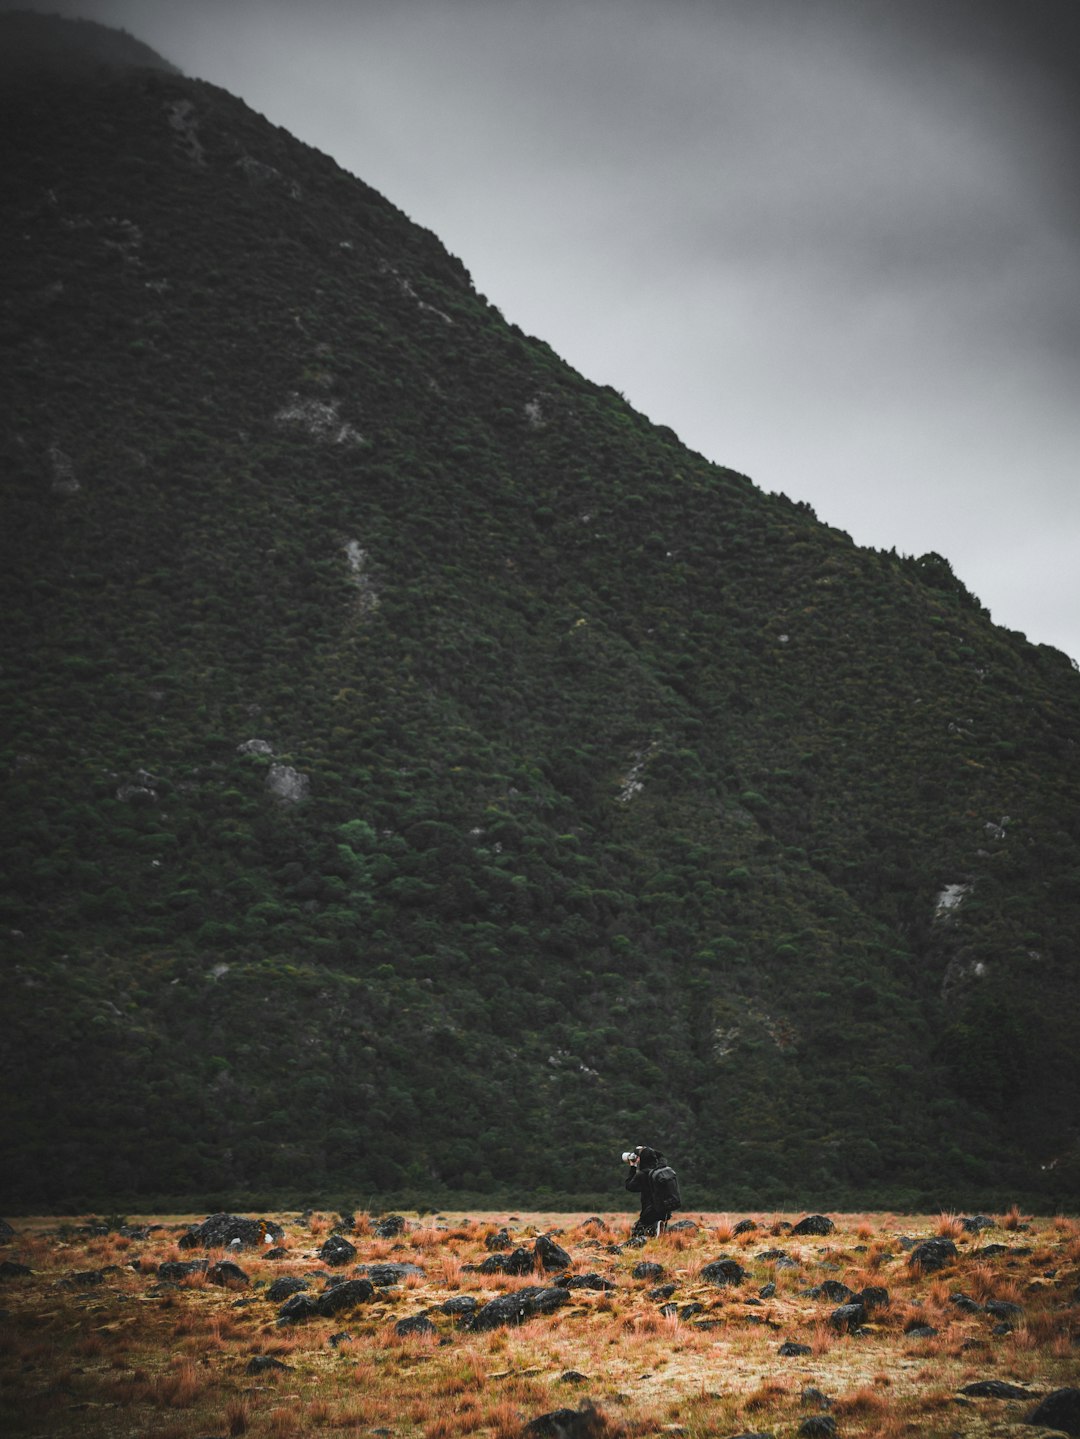
Landscape Photo Workflow
- Correct white balance for natural colors
- Set exposure for mid-tones, recover highlights in bright sky
- Increase shadows to reveal detail in darker foreground
- Add clarity for texture in rocks/foliage
- Use graduated filter to further enhance sky
- Boost vibrance slightly for more colorful scene
- Apply targeted sharpening for crisp details
- Add subtle vignette to frame the composition

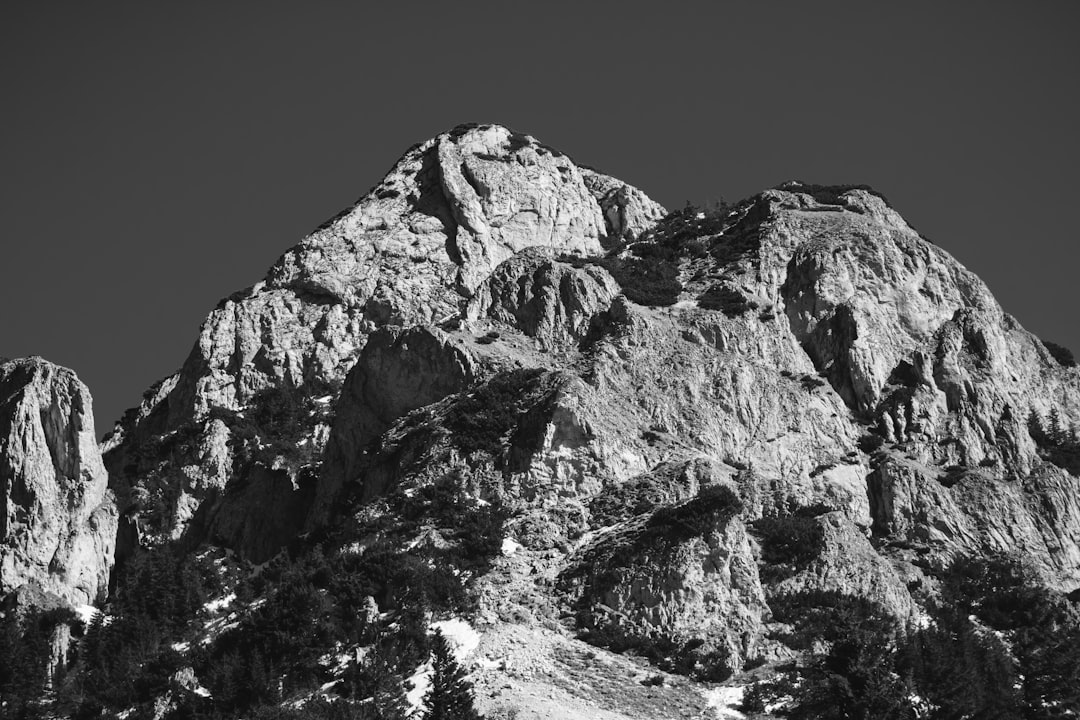
Landscape editing: Before and after applying our workflow
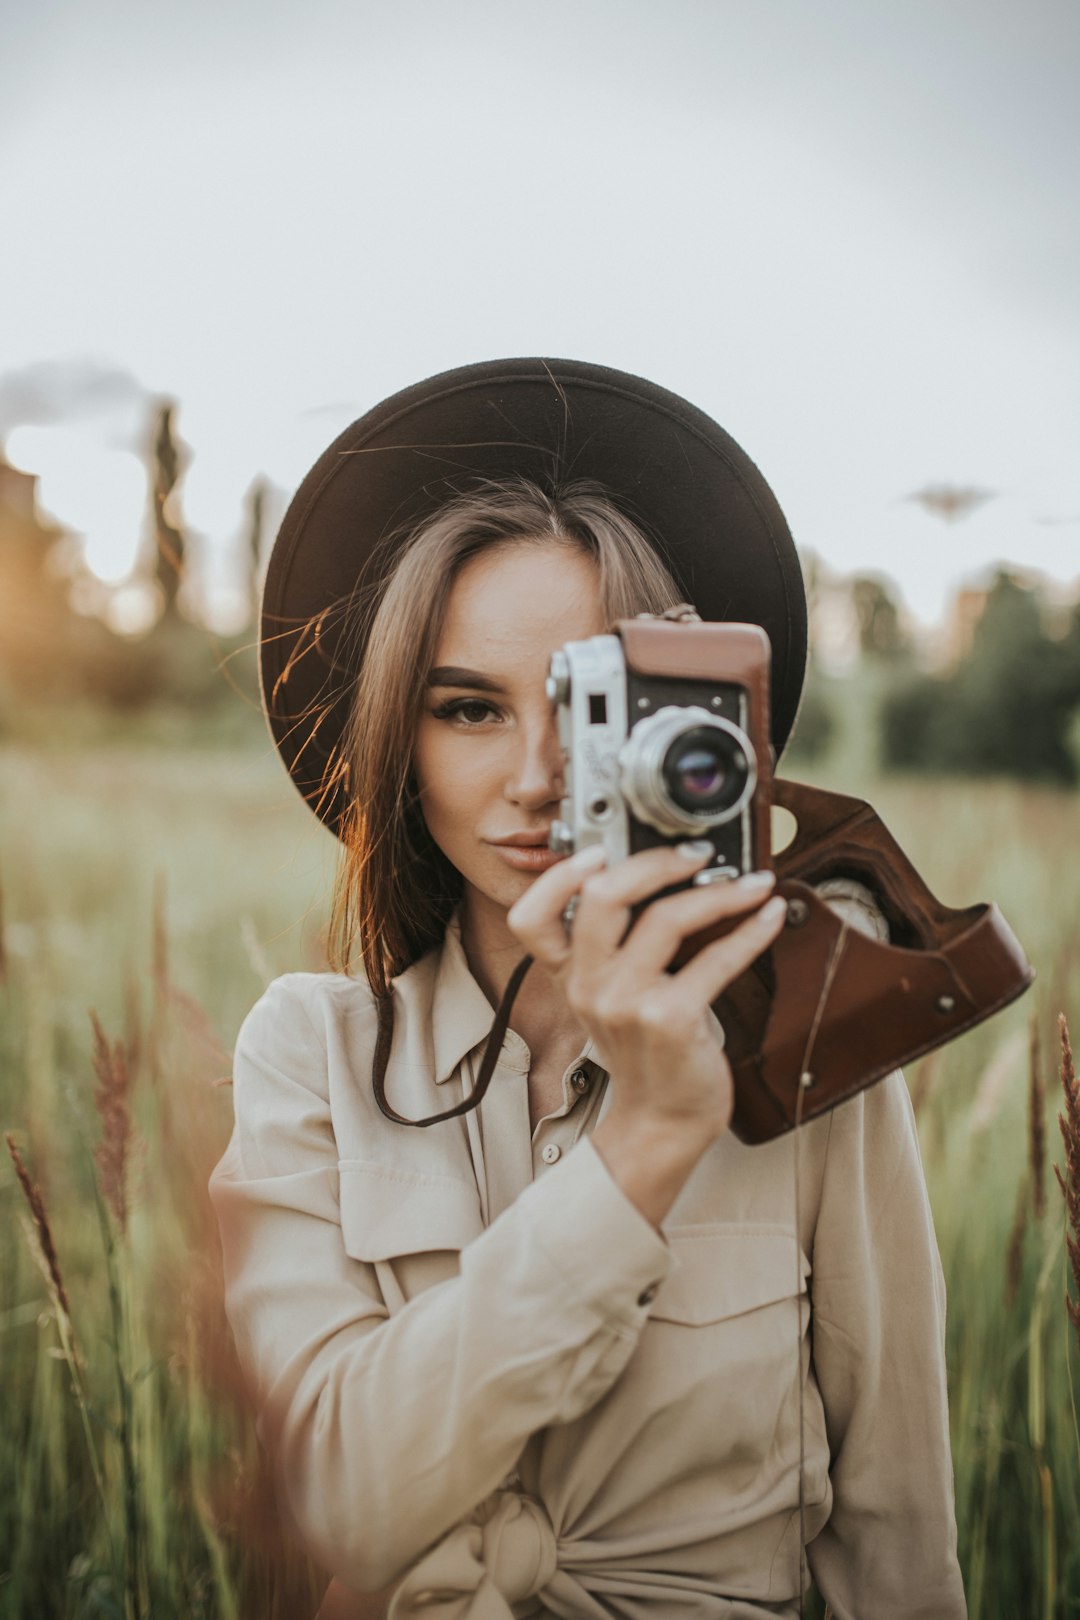
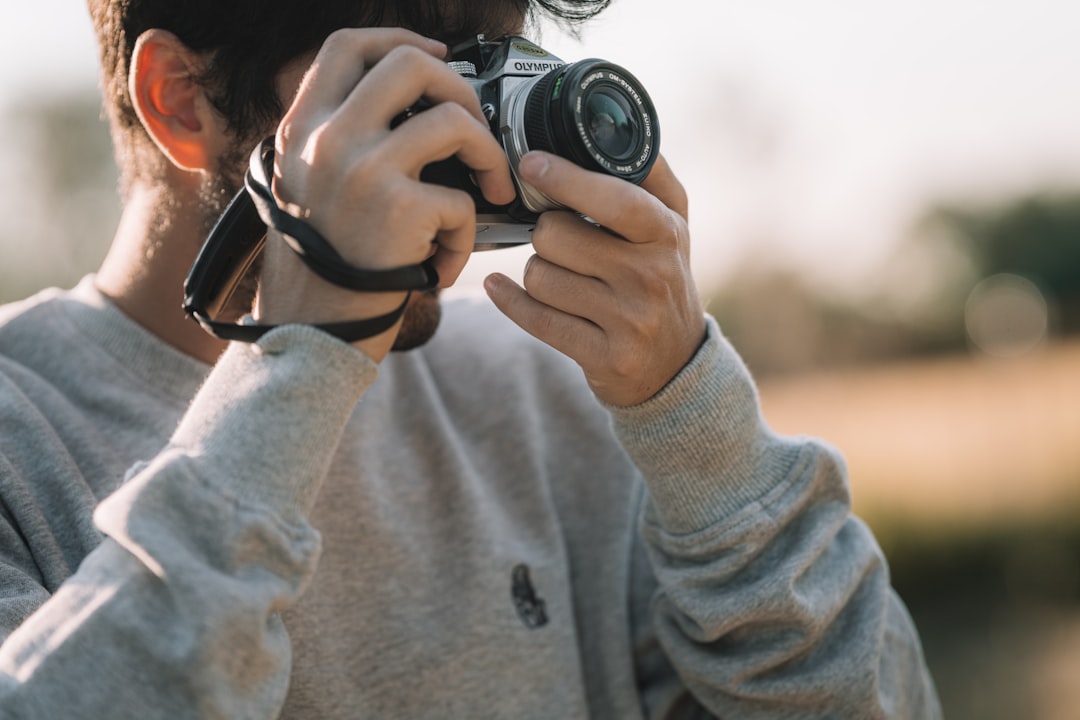
Portrait Photo Workflow
- Correct white balance for pleasing skin tones
- Adjust exposure for proper face brightness
- Reduce highlights on skin if needed
- Use radial filter to subtly brighten eyes and face
- Apply skin smoothing with masked adjustment brush
- Enhance eye clarity and color
- Adjust individual colors via HSL (especially oranges for skin)
- Add soft vignette to focus attention on subject

Portrait editing: Before and after applying our workflow
Common Beginner Mistakes to Avoid
- Over-editing: Pushing sliders too far, resulting in unnatural images
- Inconsistent editing: Creating a different look for every photo
- Heavy-handed noise reduction: Creating artificial-looking, plastic skin
- Excessive saturation: Creating garish, unrealistic colors
- Ignoring white balance: Leaving color casts that affect the entire image
- Skipping lens corrections: Leaving easily fixable distortion
Developing Your Style
As you become comfortable with this basic workflow, you'll naturally begin developing your own style. Here are some ways to refine your approach:
- Study photographers you admire: Analyze what you like about their editing style
- Create and save presets: Once you find settings you like, save them as starting points
- Be consistent: Apply similar editing approaches to similar types of photos
- Experiment deliberately: Try new techniques on copies of images you've already edited
- Get feedback: Share your work and listen to constructive criticism
Conclusion: Practice Makes Perfect
Remember that post-processing is both a technical skill and an art form. This beginner workflow provides a solid foundation, but mastery comes through consistent practice and experimentation.
Start by following these steps exactly, then gradually adapt them to suit your preferences and the specific needs of each image. Over time, you'll develop an intuitive sense of what each image needs and how to achieve your vision efficiently.
Most importantly, don't get discouraged if your early results don't match your expectations. Post-processing is a journey, and every edit teaches you something valuable for your next image.
What part of the post-processing workflow do you find most challenging? Share your experiences in the comments below!